
A deck inspection before you accept a finished build in Central Pennsylvania is one of the most important things you can do to protect a significant home investment. Most homeowners judge a finished deck by how it looks: clean lines, smooth boards, and an attractive finish. But the qualities that determine whether a deck will still be safe and structurally sound in year ten or year fifteen are mostly not visible in those clean lines and smooth boards. They are in the railing’s structural attachment, the stair rise consistency, the surface drainage pattern, the permit closeout documentation, and several other specific elements that a prepared homeowner can evaluate in a systematic walkthrough before the final payment is released. This guide gives you a complete, practical checklist for that walkthrough.
Why the Final Walkthrough Matters
The final walkthrough with your deck builder is not a courtesy review. It is the last point at which the contractor’s obligation to correct deficiencies is clearly established before the final payment closes the project. According to Exterior Specialists’ 2026 deck building process guide, a rigorous internal walkthrough verifies that every miter joint is tight, every railing is tensioned correctly, and every installed feature functions as intended. That commitment to internal review is what a quality builder does. Your role in the walkthrough is to verify that the result matches what was agreed and that the specific code and quality elements covered below are correct.
Under Pennsylvania’s Home Improvement Consumer Protection Act, the final payment should not be released until the work is completed to the homeowner’s satisfaction. The walkthrough is where you exercise that protection. Any item that does not meet the agreed specification or code standard is documented on a punch list before the final payment is made, and the contractor addresses every item before the project formally closes.
According to PermitDeck’s 2026 deck inspection checklist, before any official inspection, doing your own walkthrough with a checklist prevents most failed inspections and ensures you know what to look for. The same principle applies to the homeowner’s acceptance review.
West Shire Decks conducts a thorough internal walkthrough on every completed deck project throughout Mechanicsburg, Dillsburg, York PA, Monkton MD, and surrounding Central Pennsylvania communities before scheduling the homeowner’s final review. As Central PA’s only TimberTech Platinum Certified Contractor and a six-time winner of Harrisburg Magazine’s “Simply the Best” award from 2020 through 2025, their standard is that no project is considered finished until every detail meets their own quality standard, not just the code minimum.

What to Bring to the Walkthrough
Arriving at the final walkthrough prepared makes the review more thorough and more efficient. According to PermitDeck’s deck inspection guidance, bring a tape measure and a level to the walkthrough. A 4-inch diameter object such as a large pipe fitting or a standard tennis ball helps you check baluster spacing without precise measurement for every gap. Your original contract and any change orders give you the agreed scope reference for every element you evaluate.
Also bring the approved permit plans if your builder has provided them. The final inspection with the local building department confirms that the finished deck matches the approved plans. Your own review of the same plans against the finished structure gives you confidence that the official inspection will pass and that any significant deviation from the plans would be visible to you before the inspector arrives.
Step One: Confirm Permit Closeout Status
The first question in any final walkthrough is whether the permit has been officially closed by the local building department. In Pennsylvania, the permit close-out requires a passed final inspection by the local municipality. The permit is a permanent part of your property’s record and is referenced in title searches during a future real estate transaction.
According to PermitDeck’s deck permit inspection guide, the city or municipality closes the permit and issues a Certificate of Completion or Certificate of Occupancy depending on jurisdiction. This document should be kept with your house records permanently because title companies ask for it during resale. A deck without a closed permit is a potential complication at every future property transaction.
Ask your contractor directly whether the final inspection has been scheduled and passed before the walkthrough appointment. A contractor who tries to conduct the homeowner walkthrough before the official inspection has passed is putting the homeowner in a position of releasing final payment before the project has received its legal completion documentation. The sequence should be official final inspection first, homeowner walkthrough second, final payment third.
Step Two: Test Every Railing Section
Railing is the most safety-critical element of a finished deck and the most important to evaluate specifically. Under Pennsylvania’s Uniform Construction Code, guardrails on decks more than 30 inches above grade must withstand a 200-pound lateral load at the top rail without failing. This requirement exists because a railing that fails under the weight of someone leaning against it on an elevated deck has potentially life-threatening consequences.
Testing each railing section is simple and takes less than two minutes per section. Place both hands on the top rail and apply firm lateral pressure in both directions, pushing toward the yard and pushing back toward the house. Any movement in either direction indicates either inadequate post anchoring or missing structural backing at the post connection. A properly installed railing should feel completely rigid under this test.
Check baluster spacing using a 4-inch object. Pennsylvania’s UCC requires that no opening in the railing assembly allow a 4-inch sphere to pass through. This applies between balusters, between the bottom rail and the deck surface, and between end balusters and the nearest post. Walk the full length of every railing section and check spacing at several points, including at corners and transition sections where spacing is hardest to maintain consistently.
Verify railing height with a tape measure at multiple points along each section. Pennsylvania requires a minimum of 36 inches from the deck surface to the top of the rail. Measure at several posts and at mid-span between posts to confirm consistency.
Check railing post bases for any gap between the post base hardware and the deck framing. A post that is not seated correctly in its base hardware or that shows movement at the base when lateral pressure is applied at the top rail has an anchoring problem that should be corrected before acceptance.
Step Three: Walk Every Stair Run
Stairs are among the most revealing quality indicators on any deck and one of the most important safety elements. According to Coastal Outdoor Living’s quality deck construction guide, deck stairs are one of the most visible areas of any project and poor finishing there immediately affects overall quality perception. They are also where inconsistency in construction can create genuine safety hazards through irregular rise dimensions.
Walk every stair run from top to bottom and back up. Feel for consistent rise height from step to step. An inconsistent rise, where one step is notably higher or lower than the adjacent steps, creates a trip hazard because the foot expects a consistent height that does not materialize. Pennsylvania building code requires consistent riser height within a stair run with a maximum variation of 3/8 of an inch between the tallest and shortest riser.
Measure stair width at the top, middle, and bottom of each stair run. Pennsylvania requires a minimum stair width of 36 inches. Stair treads should be level across their width and should overhang the stringer face by a consistent amount, typically 1 inch to 1.5 inches, across every step.
Test the stair railing or handrail by applying lateral pressure at the top. Handrails on stairs must be graspable, meaning the profile must allow a hand to close around it rather than merely rest on top of a flat surface. Handrails must be continuous from the top riser to the bottom riser without interruption and must return to the post or wall at each end rather than terminating in an open end that could catch a sleeve or a cuff.
Check the stringer-to-deck connection at the top of each stair run and the stringer-to-footing or concrete pad connection at the bottom. Both connections should be secure and show no movement when lateral pressure is applied to the stair railing.
Step Four: Evaluate the Decking Surface
The decking surface is the most visible element of the finished deck and the one homeowners naturally focus on first. A systematic review covers both aesthetic quality and functional performance.
Walk the entire deck surface slowly and feel for any board that moves, bounces, or feels hollow underfoot. A board that moves when stepped on has either an inadequate fastener connection to the joist below or spans a joist gap that exceeds the maximum span for the decking material. Either condition should be corrected before acceptance.
Look along the deck surface from a low angle at one end of the deck toward the other. This sightline reveals surface variation, board warping, and inconsistent board spacing more clearly than a standing-height view. Composite boards should be consistent in elevation across the full surface with no significant high or low spots at individual boards. Surface flatness to within 1/8 inch over 10 feet is the industry standard reference point.
Check board end joints where two boards meet end-to-end over a joist. End joints should be staggered systematically rather than landing in a row across adjacent boards. Each end joint should land over a joist or blocking, not in free span.
Verify board spacing is consistent across the surface. Composite board spacing requirements vary by product and installation temperature, but consistency across the surface is the visible indicator that layout was planned rather than improvised. Pull out a tape measure and spot-check spacing at several points including at both perimeter edges to confirm consistency.
Verify that picture framing or breaker boards, if specified in the contract, are installed at the agreed locations with consistent width and correct material match. These elements should be specified in the original contract, and their presence or absence is a straightforward contract compliance check.
Check the fascia boards at every perimeter face. Fascia should be consistent in width, level along its length, and tightly fitted at corners. Any gap at a corner joint or wave in the fascia line reflects installation carelessness that is worth noting on the punch list.
Step Five: Inspect the Ledger Connection and Perimeter
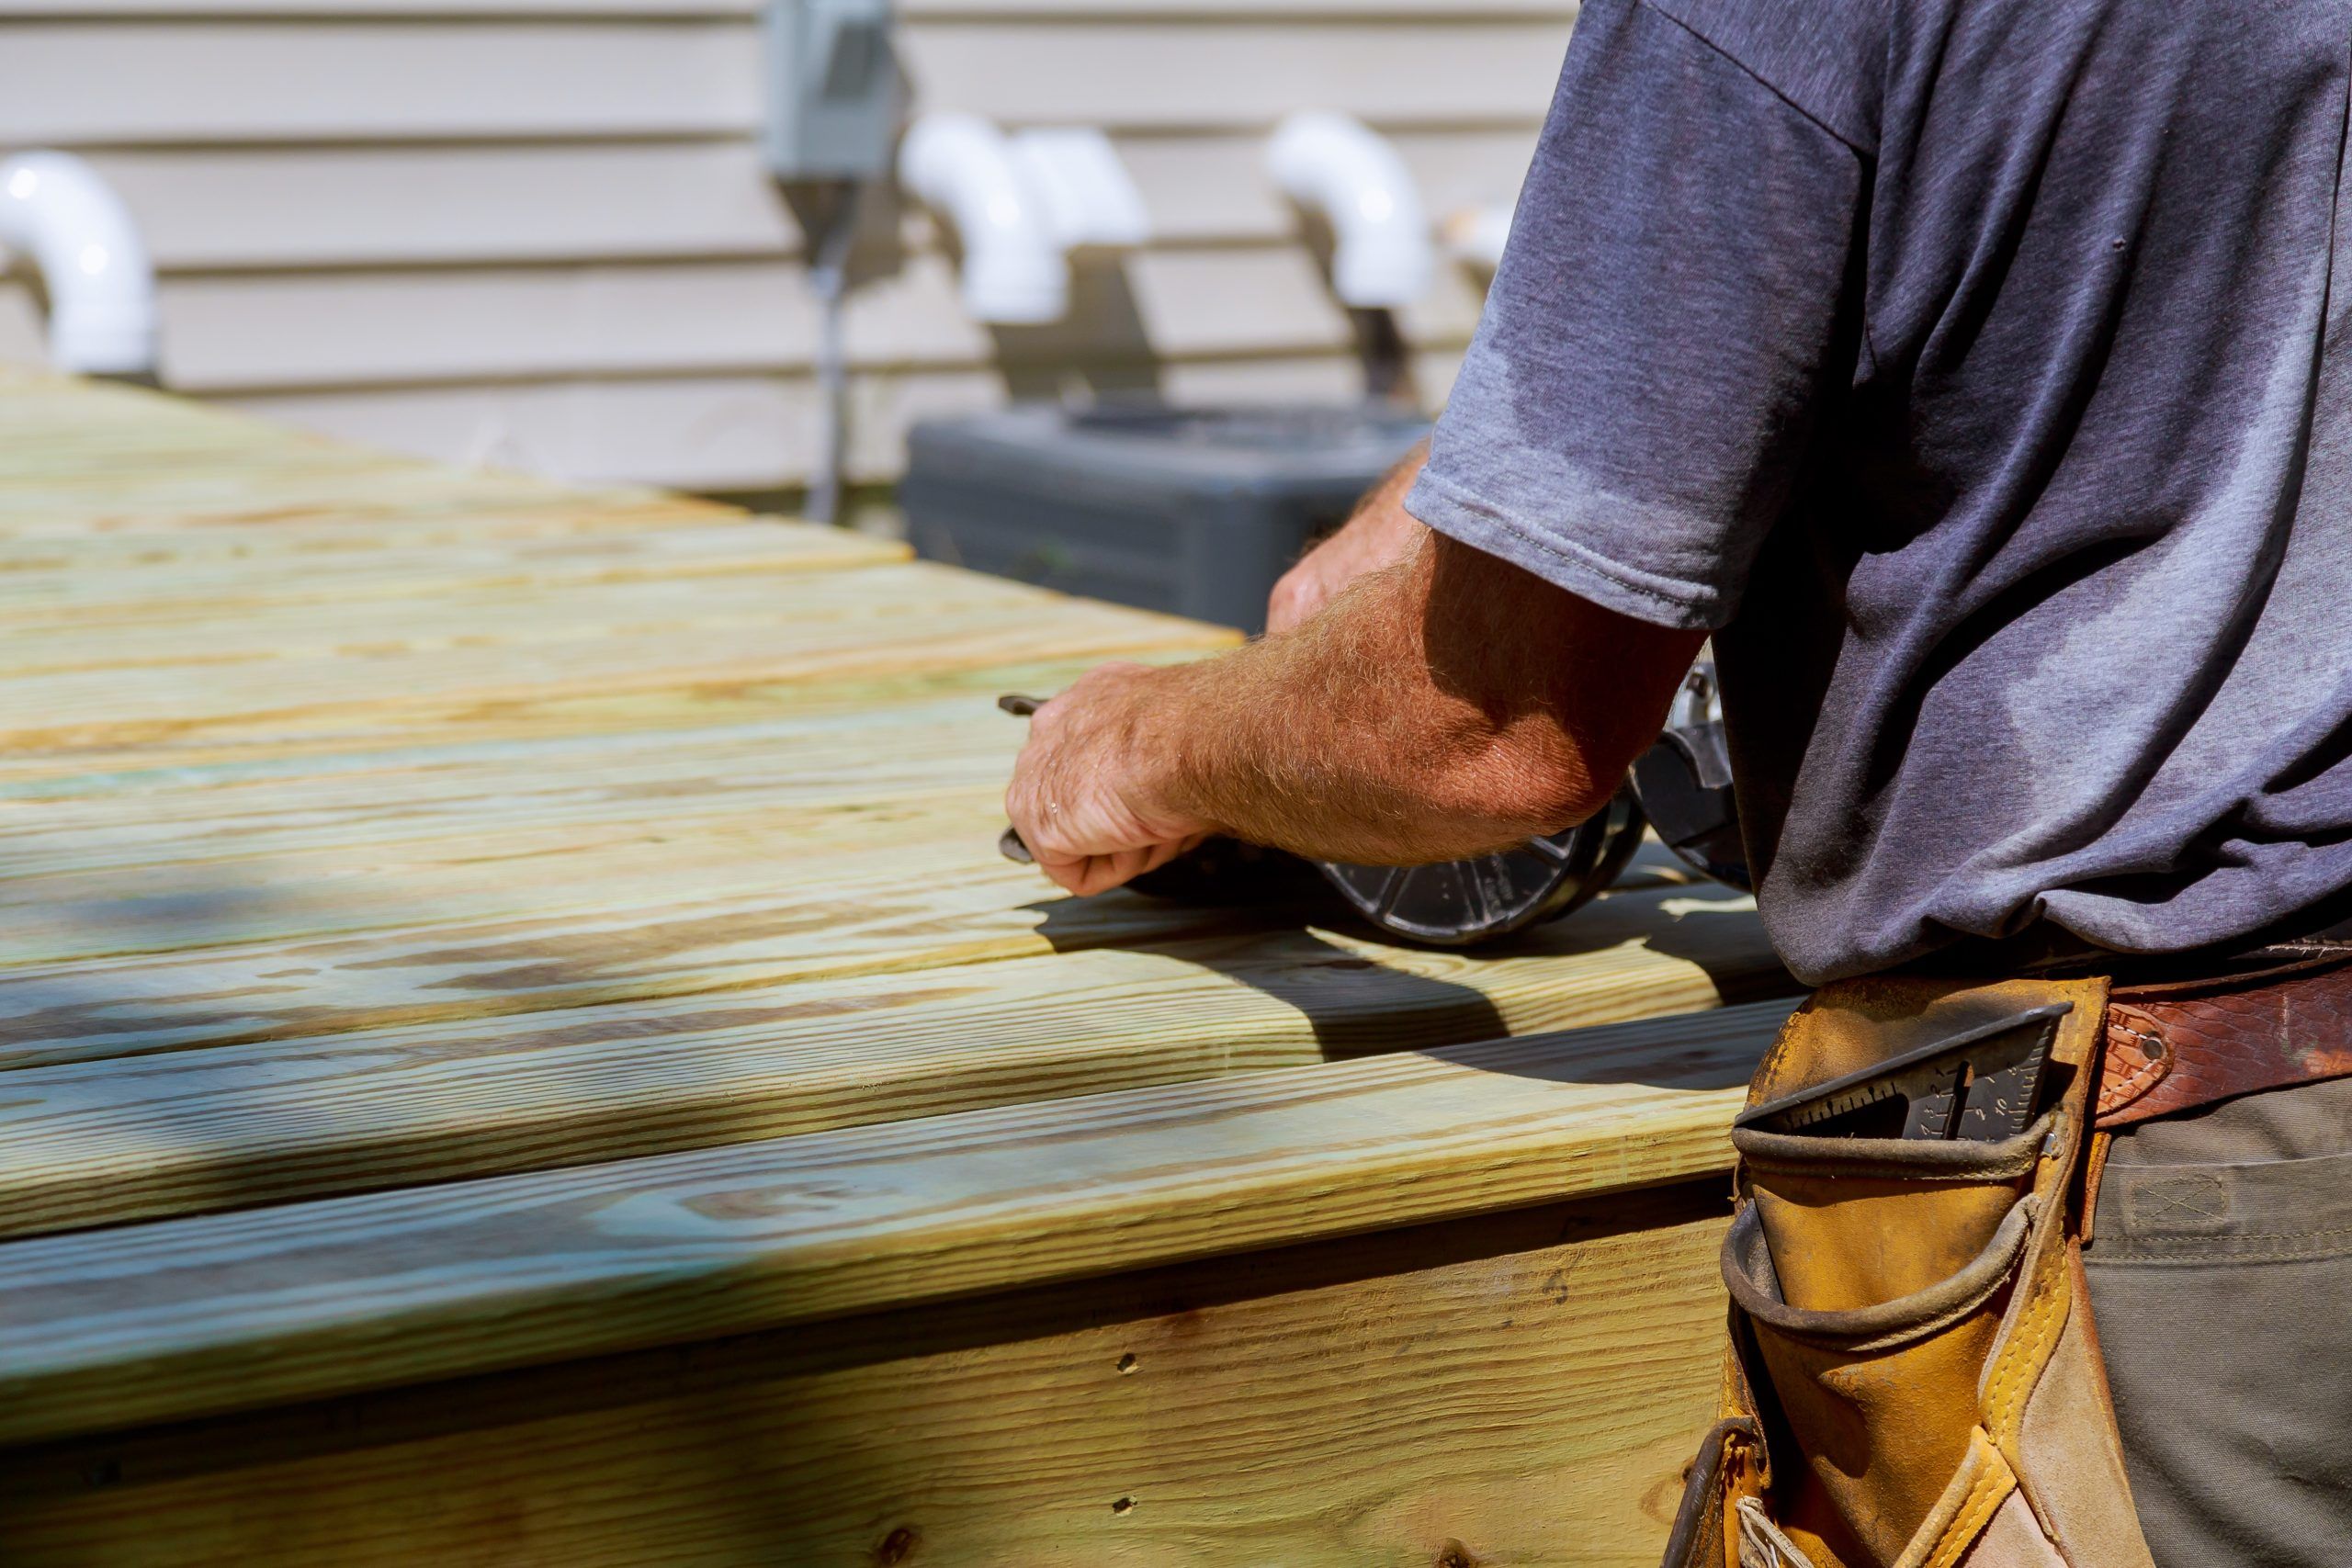
The ledger board connection to the home is the most structurally critical element of an attached deck and the one most homeowners do not think to check during the walkthrough. You cannot see the fasteners or the flashing at this stage, but there are observable indicators of quality at the ledger.
Look at the transition between the deck and the home’s exterior wall. There should be visible flashing at the top of the ledger connection that directs water away from the joint between the deck and the wall. No gap should be visible between the ledger flashing and the home’s siding or cladding above it. A gap in this joint is a water infiltration path that will cause damage to both the ledger and the home’s framing behind it.
Look for any daylight gap between the deck surface and the home’s wall that is not intentional. A small gap between the deck boards at the house end and the siding is normal and allows drainage. A large or inconsistent gap that appears to reflect an attachment problem is worth asking about directly.
Check the perimeter of the deck at grade level for any signs of water management issues. Drainage beneath and around the deck should direct water away from the home’s foundation. Any pooling visible at the deck perimeter immediately after a rain event is worth flagging.
Step Six: Test All Installed Features
Any features specified in the contract, including lighting, built-in seating, pergola elements, and any electrical connections, should be tested during the walkthrough to confirm they function correctly before the final payment is released.
Test every lighting fixture by operating the system through its control mechanism. All step lights, post cap lights, under-rail strips, and any other installed lighting should illuminate at their full designed output. A fixture that does not illuminate may indicate a connection problem that is straightforward to correct if identified during the walkthrough but more difficult to address after the project is closed.
Inspect every pergola connection including post bases, beam-to-post connections, and rafter attachment. Apply lateral pressure to the pergola posts to confirm they are rigidly anchored. Pergola elements should not move or feel unstable under normal load.
Test any built-in seating by sitting on it and applying lateral force to the seat back. Built-in seating should be structurally anchored to the deck framing and should feel solid under use conditions. A bench that moves or flexes significantly under seated occupancy is not sufficiently anchored.
Step Seven: Review Documentation Before Releasing Final Payment
The final payment should be released only after the permit is closed, the punch list is complete, and the warranty documentation is in your possession.
Confirm that the permit closure documentation is in hand or confirmed as received by your contractor. The Certificate of Completion or equivalent document from the local building department is the legal confirmation that the project was built to code and inspected at all required stages.
Confirm the warranty terms in writing. The workmanship warranty covering labor should be documented with clear terms about what is covered, for how long, and how to make a claim. Manufacturer warranties on decking, railing, and any other installed products should be registered in your name and the documentation provided to you at closeout.
Review the punch list, if one was developed during the walkthrough, and confirm that every item is either completed or has a confirmed completion date before the final payment is released. Do not release the final payment with open punch list items in exchange for a verbal commitment to return. A scheduled return date with an agreed scope is the minimum documentation required for any open item at final walkthrough.
According to Exterior Specialists’ 2026 deck building guide, keep the Certificate of Completion with your house records permanently. Title companies ask for this document during resale and its absence creates a complication that is both avoidable and significantly more difficult to resolve years after the project is complete.
The custom deck design and build process at West Shire Decks includes a thorough internal quality review before the homeowner’s final walkthrough at every project. Their project gallery and photos with prices page reflect the standard of finished work that their walkthrough process is designed to confirm and protect.
The Complete Final Walkthrough Checklist
Use the following checklist at the final walkthrough before releasing payment.
Permit closeout: Confirm the final municipal inspection has passed and the Certificate of Completion is available.
Railing: Test each section with firm lateral pressure in both directions. Check baluster spacing with a 4-inch object at multiple points. Measure railing height at several points per section. Confirm post bases show no movement.
Stairs: Walk each run for consistent rise height. Measure stair width. Test stair railing with lateral pressure. Confirm handrail graspability and continuous run. Check stringer connections at top and bottom.
Deck surface: Walk for any moving or hollow boards. Check surface level from a low sightline. Verify consistent board spacing. Confirm end joint staggering. Check fascia consistency and corner fit. Confirm picture framing or breaker boards per contract.
Ledger and perimeter: Confirm visible flashing at ledger. Check for any gap between flashing and siding above. Review perimeter drainage.
Features: Test all lighting. Inspect pergola connections and test lateral stability. Test built-in seating under load.
Documentation: Permit closeout in hand. Workmanship warranty in writing. Manufacturer warranty registrations confirmed. Punch list items complete or scheduled.

Final Thoughts
Evaluating a finished deck before accepting it in Central Pennsylvania protects your investment, confirms code compliance, and ensures that every element of the agreed scope was delivered to the standard that justified the final payment. The systematic walkthrough described above takes approximately 30 to 45 minutes on a standard project and covers the structural, safety, aesthetic, and legal elements that together confirm a project is genuinely complete.
The 2024 Cost vs. Value Report confirms that a professionally built deck returns approximately 82.9 percent of its cost in wood and 68.2 percent in composite at resale. A deck with closed permits, documented warranties, and confirmed code compliance at every measurable point delivers that return. One accepted without this verification carries unquantified risk that surfaces at the worst possible moment, typically when a property sale brings a buyer’s inspector to the same deck.
To work with a team whose final walkthrough standard makes this checklist a confirmation rather than a discovery, contact West Shire Decks at 717-557-2340 for a free consultation. Serving Mechanicsburg, Dillsburg, York PA, Monkton MD, and surrounding communities throughout Central Pennsylvania.