
You can repair split wood on a deck yourself in most cases. The right fix depends on how deep the split is and whether rot is involved. Small cracks take 30 minutes to fix. Splintered or badly cracked boards take a bit longer but are still manageable DIY jobs. This guide covers everything — from quick wood deck crack repair to full splintered deck repair — so you know exactly what to do.
Why Does Deck Wood Split in the First Place?
Wood is always moving. It soaks up moisture in the rain, then dries out in the sun. That constant expanding and shrinking causes cracks over time.
Splintering decks don’t happen unless a long period has passed during which the deck has not been treated with a water sealer and stain. The lack of protection allows water to soak into the boards, eventually causing them to splinter and crack.
Soft wood species like pine and cedar are especially prone to splitting. UV exposure, heavy foot traffic, and freezing winters — common in PA and MD — all speed up the damage.
How to Tell If You Can Repair It or Need to Replace It
Before reaching for any wood deck repair products, check how bad the damage is.
Use a flat-head screwdriver and press it firmly into the crack. If it penetrates more than a quarter inch, the interior wood has softened — that’s a sign of rot, and the board may need to be replaced.
Here’s a simple guide:
| Damage Level | What to Do |
|---|---|
| Small surface crack | Caulk or wood filler |
| Shallow split, no rot | Glue, clamp, and seal |
| Deep split with soft wood | Epoxy filler or replace |
| Full rot or spongy board | Replace the board |
| Multiple bad boards | Consider deck resurfacing |
How to Repair Split Wood on a Deck: Step by Step
Step 1: Clean the Surface First
Before any repair, the board needs to be clean. Dirt, mold, and old stain prevent fillers from sticking.
Mix up a solution of half bleach and half water and spray down the entire deck. If you see areas of mold, hit those especially hard and work at them with a scrub brush. Wait for the deck to dry before moving on.
Give it at least 24 hours to fully dry before applying any repair deck wood filler or sealant.
Step 2: Fix Small Cracks with Filler
For minor wood deck cracks — anything under about ¼ inch wide — a good exterior-grade wood filler does the job.
Use a putty knife to push the wood filler into the cracks and remove the excess. Then let it dry before you begin sanding.
Important: never use interior wood filler for this. Avoid using interior wood fillers on exterior surfaces — exterior fillers are best for outdoor projects. They’re made to handle rain, sun, and temperature swings.
Step 3: Use Wood Epoxy for Deeper Splits
For deeper splits or damaged areas with soft wood, wood epoxy for deck repair is the stronger choice.
Patch cracks with two-part epoxy wood filler. Choose a clear product or one that matches the wood color. Trowel the filler into the crack with a putty knife after mixing the two components, and scrape off as much excess as you can because the filler doesn’t sand off easily.
Epoxy bonds tightly to wood fibers and won’t crack when the board expands and contracts — unlike regular wood putty. This makes it a much better waterproof deck repair option for outdoor use. The U.S. Forest Products Laboratory confirms that epoxy-based fillers significantly outperform standard putties in outdoor moisture resistance.
Step 4: Repair Splintered Wood
Deck splinter repair is a slightly different task. Splinters are raised, sharp fragments of wood that can hurt bare feet. Here’s how to handle them:
- Pull up the edge of any loose splinter and dab wood glue underneath
- Press it down and weight it until dry
- If the splinter is detached, chisel down any spiky edges. If that causes a surface crack, fill it with epoxy wood filler.
- Sand smooth with 100-grit, then 120-grit sandpaper
For a repair splintered wood deck job to last, the surface must be fully smooth before sealing.
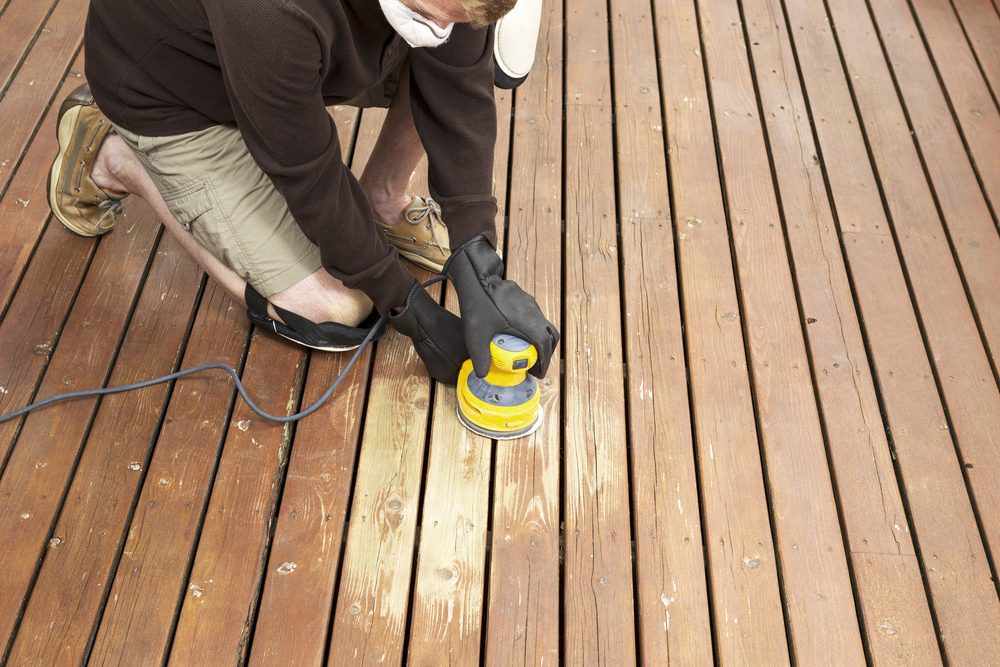
Step 5: Sand the Whole Area
Begin sanding a splintered deck with coarse-grit sandpaper — about 100 grit — to eliminate rough fragmented areas quickly. Then change to fine-grit sandpaper (120 grit) once the surface is more uniformly smooth to produce a smoother finish.
Rent a large orbital floor sander if you have a big area. Use a hand sander for railings and tight spots.
Step 6: Seal and Protect the Wood
This is the most important step. Without a proper seal, the wood will split again.
Fill a paint sprayer with deck sealer. Liberally spray the deck, saturating it with a wet coat of sealer. Angle the spray to penetrate into cracks and between the boards. Allow the sealer to dry for 72 hours before using the deck.
Use a semi-transparent stain-sealer for the best protection. It adds color and blocks moisture at the same time. This is also the best point to address any deck stain repair — touch up faded or uneven areas while the surface is freshly sanded.

How to Prevent Splits From Coming Back
Fix it once, fix it right, and protect it going forward. Here’s what helps:
- Seal your wood decking every one to two years
- Keep gaps between boards clear so water drains off
- Move pots and furniture occasionally to prevent trapped moisture
- Inspect for new cracks every spring and fall
According to Penn State Extension, regular sealing is the single most effective way to prevent moisture-related wood deterioration in outdoor structures.
Final Thoughts
Repairing split wood on a deck is a job most homeowners can handle on a weekend. Clean the surface, fill small cracks with exterior wood filler, use epoxy for deeper splits, sand it smooth, and seal it well. That’s the whole process.
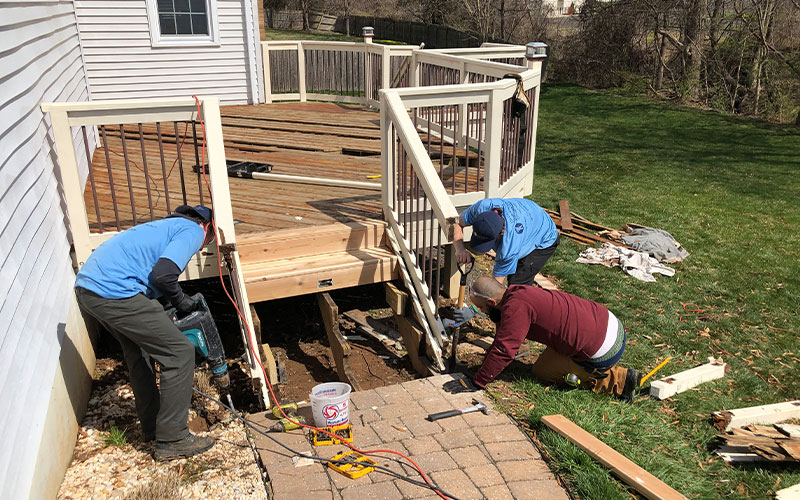
If the damage is too far gone — or you’d rather leave it to the pros — the team at West Shire Decks is ready to help. Contact us today and let’s get your deck back in shape.